Aaron MAC's's
Notes
February
8, 2010
Kit arrived UN-safely at Aaron's home, League City, Texas, USA
Well, the Spitfire arrived at my door moments ago. Speaking of the
devil. Perfect timing as I am off a few days to get my part done
and send off to the next victim. A small bit of disturbing news I must
share as it seems that the box was damaged in shipment. The
bottom right corner of the package had been smashed right through
as if a pipe or something had speared it. Talking about a fist sized
hole.
The model box within was very well packed and like quadruple bubble
wrapped but still you can visibly see where the model's box itself got
smashed. Mostly on the bottom while the top with the signatures
has a bit of a crease it was not torn. I believe the Frankinstand may
be responsible for it's survival. The box bottom is visibly
dented pretty deeply.
Thankfully at this early stage of construction most of the parts
are still bagged on the sprue and undamaged. Nothing major there but on
the fuselage parts that have been constructed there was some damage.
Frank had Tamiya taped a piece of card stock to protect the protruding
gunsite and this was torn completely off. Actually a freezer bag
holding the fuselage was torn through by the fuselage passing through
the bag by whatever impacted the box. The seam was cracked and
the gunsite broken. There are several delicate parts inside the pit
that have been hit hard as well. Luckily since there were so many
layers of bubble wrap I was able to recover all the parts
matching them to the instructions. The seat itself was torn
out of the pit but the seatbelts did not get creased by some good
fortune. I am sure with all parts accounted for it can all be
easily repaired and back enroute as planned. I am assuming this is fine
for me or anyone else experiencing similar circumstances to do?
With all the traveling still to go this may be a larger isssue as
the built plane grows in size and complexity.
All I can say is thank goodness for the Frankinstand!
Ok
We can call this one , Here today, Gone tomorrow!" Gratitious self portrate holding the kit. I look tired!
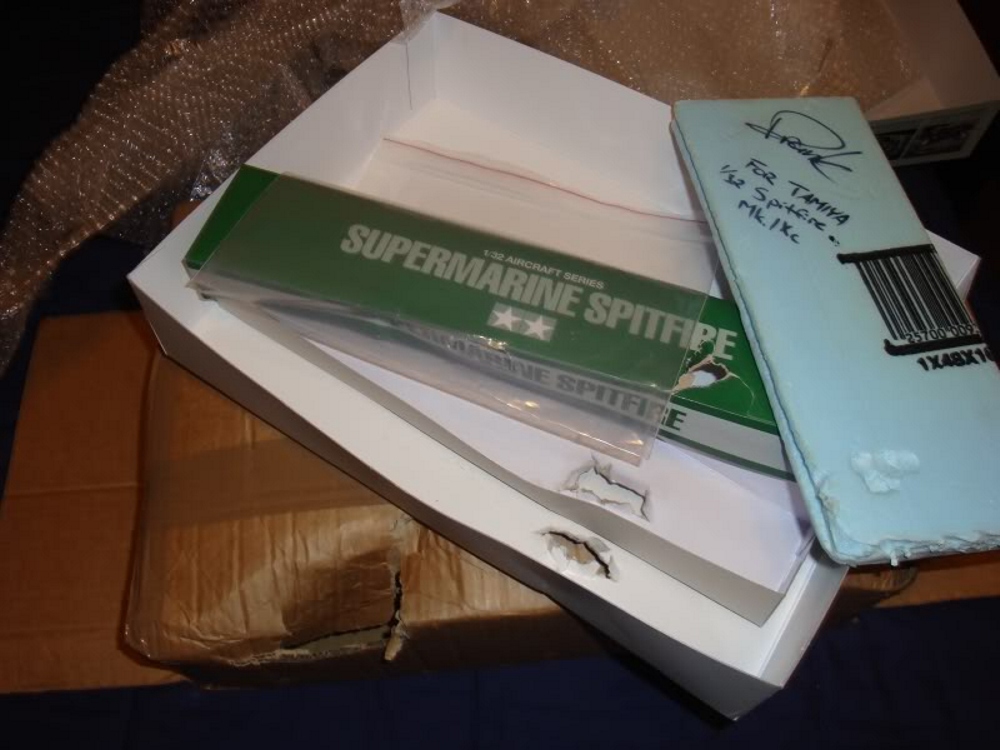 Don't
want to dwell to much on the damage. I thought I would share the
image of the box as it was when I opened it and sorted out the
parts.
There is also a hole in the ziplock clean through. This was holding the
assembled parts .Hopefully you won't
see much of a change from the others in progress notes. This was my
goal.
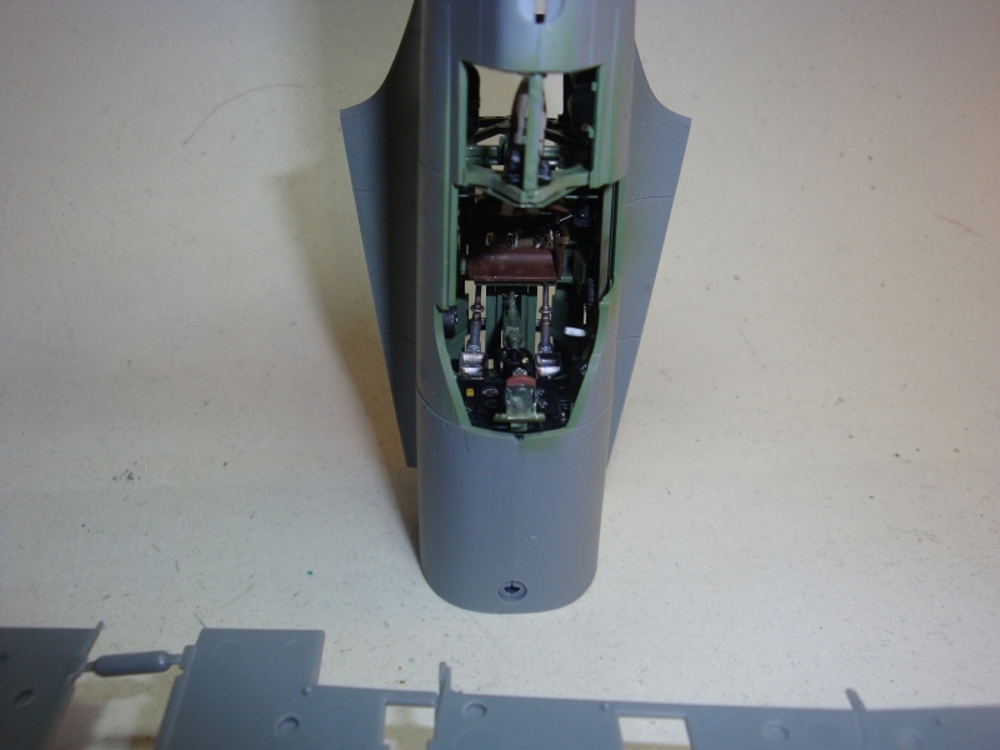
One
exception will be a open gap on the left side of the fuselage and
the
pit. This is easily closed by simple pressure though. I left it
alone
as it will give some leeway in the fit of the door and canopy in case
it is needed. I would fix it at the time the canopy is installed if it
were me.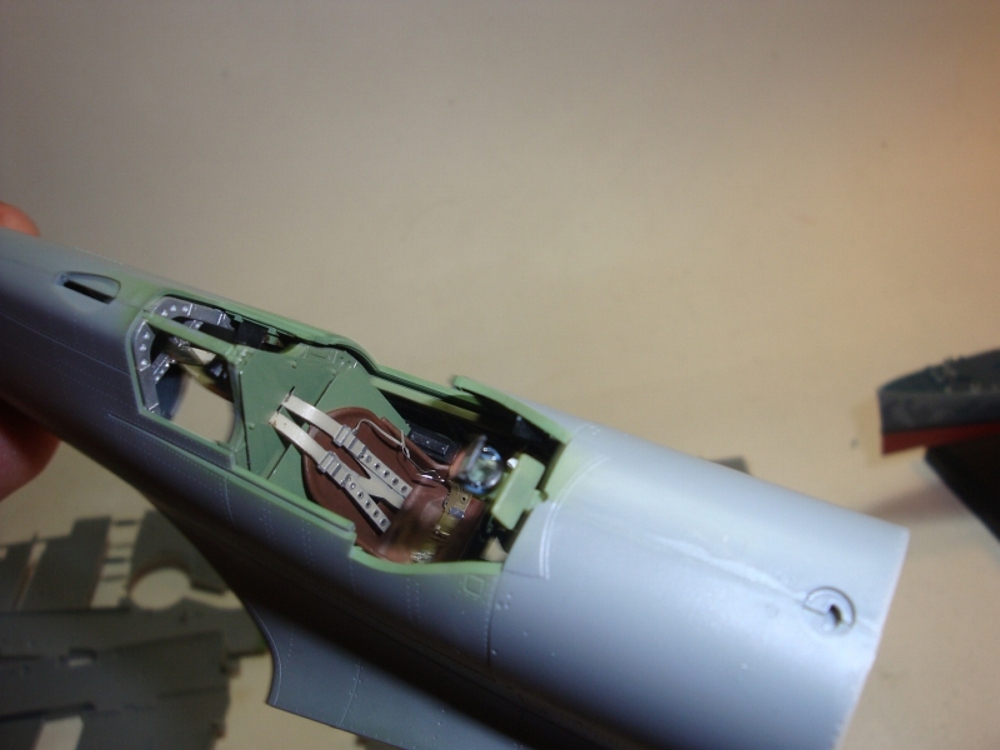 I
used the in progress notes as a ref to help check and get everything
back in place and keep the integrity of the earlier work.
So, moving
along....
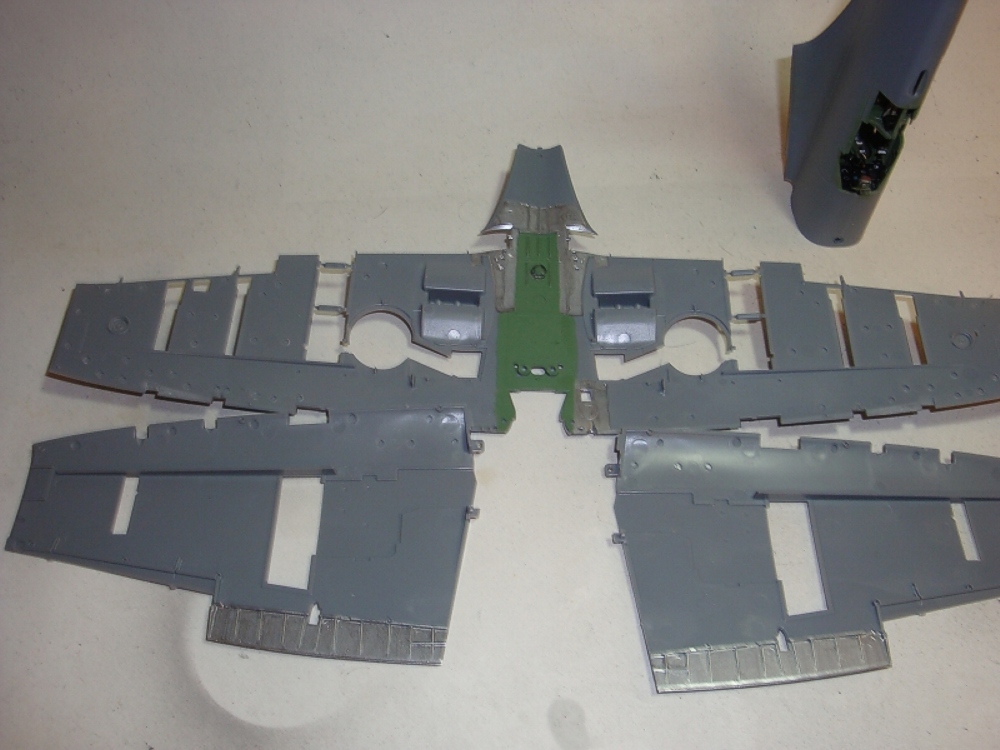 Wing parts painted according to the instruction
booklet.
Also some small surgery opening holes and panels as per option
A&B.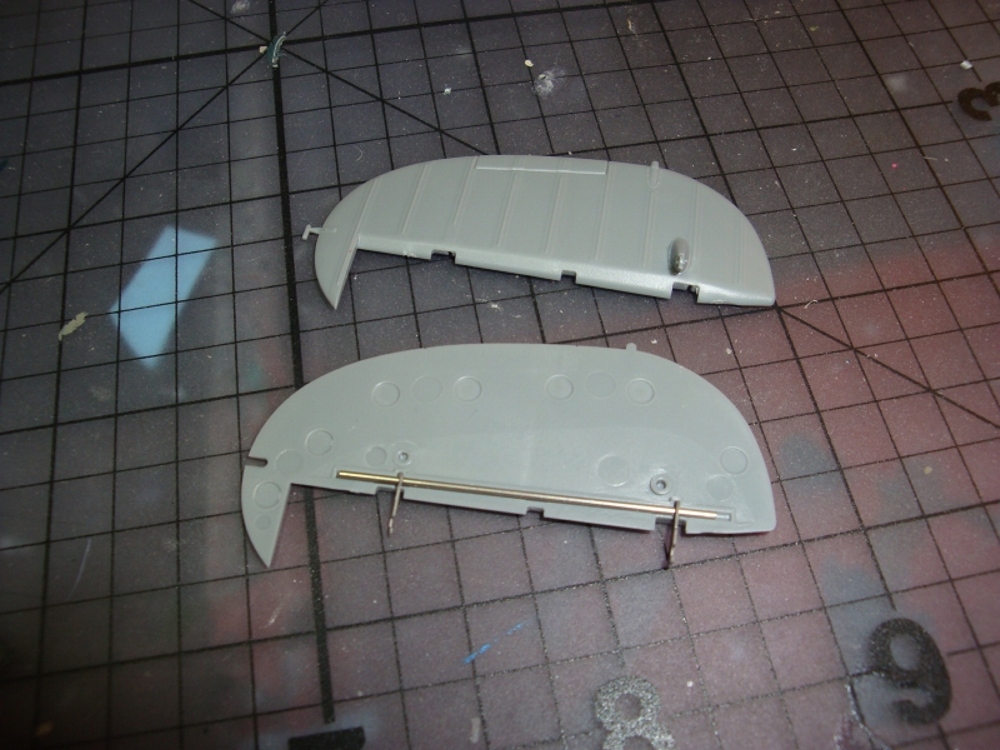
My main part was building the tail. A combination of metal rods and PE
create a movable hinge.Basically
the same steps for the stabilizers and elevators so I won't repeat
pictures. They actually snap into place and glue was only needed on one
small hinge tip on each stabilizer.
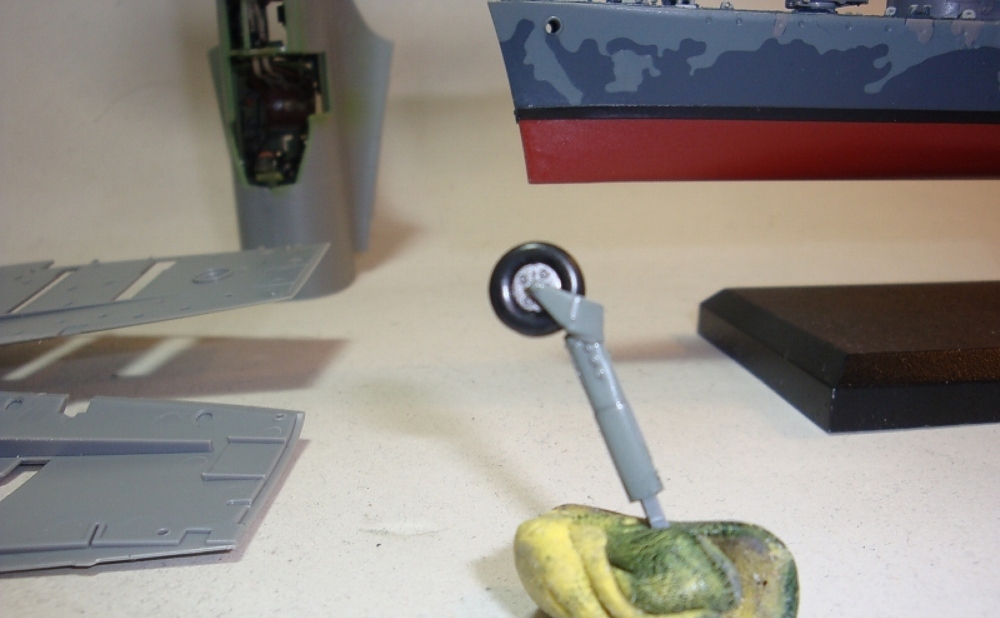 The
tail wheel was also part of my task. It also has a needle thin metal
shaft inside to add strength as the plastic shaft is very thin.
It easily slips into a poly cap to hold it in position. So easy,
I removed it for the mail trip. One less thing to break
off. The medium sea gray was mixed as per the instructions but
may need to be repainted to match the bottom color when this is
done. I did it as it was in my steps but won't be offended if a
matching color needs to be redone.
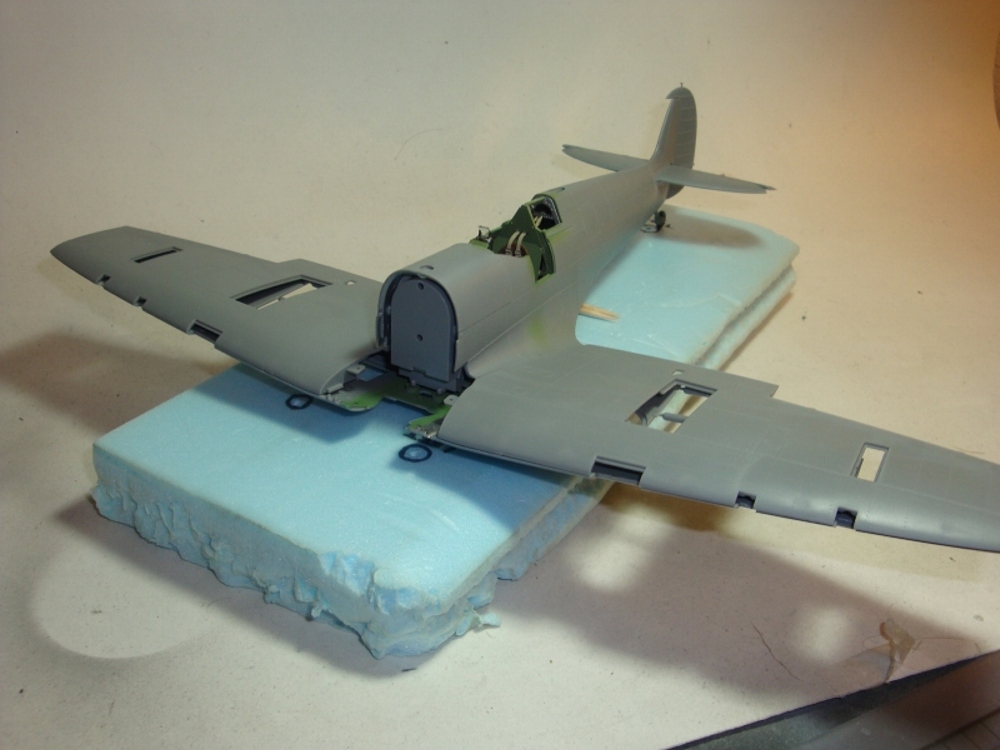 One
of the most stricking things I noticed was the plastic. More like
a CA
or Special Hobby feeling plastic rather than the hard shiney Tamiya
kits I was used too. Also the sprue attachment points in places
are
overlapping into the join seams of the wings just like a limited run
kit.These took a very careful clean up and I dry fitted the larger
parts to check my work.The
tail parts move very easy. Almost too easy but seem sturdy enough
Well that about sums it up for my part. Looking forward to see what
happens next! Nap time for this modeler!


