Douglas SBD-1 Dauntless - Part 6/7
Wing Halves & Fuselage
Previous |
Introduction |
Step One |
Step Two |
Step Three |
Step Four |
Step Five |
Step Six/Seven |
Step Eight |
Step Nine |
Next
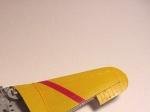
As you can now see, I have glued the wing halves
together and painted the Chrome Yellow and the chevrons. Since I haven’t built a
First Section flight airplane yet, I am going to do a plane with an Insignia Red chevron,
belly band and cowl. While this painting can obviously be done after the wings have
been glued to the fuselage as shown in the instructions, I just find it a bit easier to
work on these parts free from the rest of the model. It also keeps the wing out of the way
when painting the belly band and working on the fuselage.
I find that by doing the assembly and painting of the wing as a separate process away
from the fuselage, I can more easily mask and paint the stripes not just on the wings but
also on the fuselage. And still use the Testor metalizer that I prefer. It was a lot
easier to glue and clean up the seam on the leading edge of the wing without any
interference from the fuselage. You computer geeks don’t need to try to get 2400 DPI
prints off of the photos! I rushed this step much more than I normally would. There’s
a lot of "how’s it coming?" around here. Due to the gloss finish, I would
normally undercoat the final color (in this case, yellow) with gloss white. I like to let
this dry for a few days, polish it out and then apply a few coats of the color coat. I
normally let the light color coats dry at least 24 hours before applying a follow on coat.
After two or three color coats have been applied, I then polish out the paint as if it was
the final surface. It never is. There is inevitable some sort of booger (ok, flaw) that
needs a little more attention and another coat of paint. When everything has had plenty of
time to dry and received a good polish, the stripes and other detail work can be done.
For this build, I sprayed on a coat of flat white, buffed it to
semi-gloss and added a couple of coats of Chrome Yellow. One day of drying time and as
much polishing as the semi-dry paint would allow and you’re looking at the end
result. It certainly wouldn’t pass muster at an IPMS contest, but won’t look
that bad under a coat of dust after it sits on a display shelf for a couple of months.
 |
 |
 |
 |
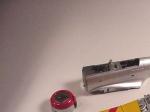
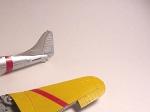
| OK, I skipped ahead a little and assembled and painted the tall surfaces and the cowl. |
 |
 |
 |
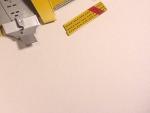 |
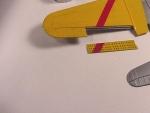
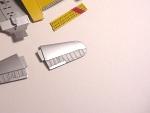
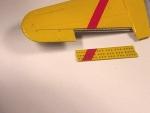
| Top of wings and dive flaps painted. |
Now for some historical stuff. One of the things that we
really love about producing our kits is the amount of "new"
information we uncover while researching the subject. And like every other
modeler out there, we always seem to turn up something after the
kit is in the box. Be it a nice photo we would have killed for a couple
of years earlier or some little tidbit of historical fact.
Since the Dash 1 kit was introduced, we have been fortunate
enough to have a nice hands-on with the only surviving example. By no
means restored, it has revealed a very interesting fact as to the finish
on the dive flaps. Close examination reveals that the finish on the interior
of the dive flaps as they left the factory matched the exterior
color of the surface to which they were attached. ie: Upper dive flaps-Chrome
Yellow both interior and exterior. Lower dive flaps-aluminum finish both
interior and exterior. It appears that this factory scheme remained in
place until sometime in 1940 when the planes were sprayed in the overall
grey camouflage scheme. It is probable that this grey paint was also applied
to the inner surfaces of the dive flaps. At least until some wingman pilot
returned from a training mission and complained that he couldn’t
see the dive flaps open on the flight section leader’s plane. Kind
of like having someone suddenly slow down in front of you on the freeway
without any brake lights! Shortly thereafter, these planes got insignia
red dive flap interiors. The layers of paint on the survivor certainly
point in this direction. Can we categorically state this as fact? Not
yet. But we will wait to be proven absolutely wrong.
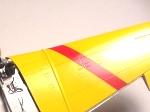
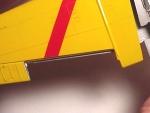
I temporarily taped the upper dive flaps to the top wing in order to line
up the diagonal wing chevron for painting. After the stripe was dry, I removed the dive
flaps and set them aside for later installation.
As I said, I like to do a lot of pre-painting. The downside of doing this is an occasional bit of unorthodox
assembly. Here’s some. Since the floor assembly has two nice spars sticking out from
the sides this will present a small obstacle to installation. I now need to get the floor
in place in spite of the fact that I have already done the wings. The answer is actually
pretty easy. Look at the accompanying photos. You will see how I have installed the floor
assembly onto the bottom wing by simply raising the trailing edge of the wings and sliding
the floor assembly forward. Carefully. Don’t glue it yet. Take a look at the
photos again and see how we have placed the wing tops over the tabs on the fuselage wing
fairings. Once the wing is placed onto the fuselage and the floor assembly is centered and
positioned fore and aft, it will not require glue. No, it won’t rattle after
it’s installed. (Don’t you just hate it when a part breaks loose and rattles
around a finished kit?)
Everything should drop into place without the forcing of any parts. When
you’re satisfied with the positioning of the wing to the fuselage, glue it in place.
A glance back at the instruction sheet will tell you that we are now back on track.
 |
 |
 |
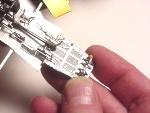 |
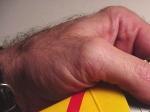
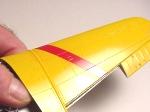
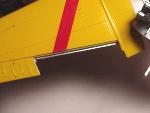
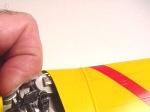
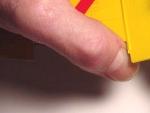
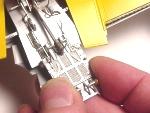
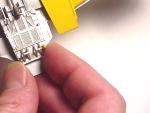
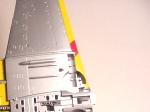
| The tricky part. Gently lift the
trailing edge and slide the spar forward. I'm lifting the trailing edge
with my thumb. Lift too much and you will pop open the leading edge thus
eliminating any advantage in pre-painting the wing. |
 |
 |
 |
 |
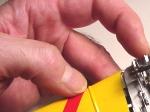
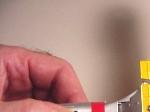
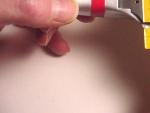
| Repeat the process for the other
side. See how I'm lifting it with my thumb while keeping the leading edge squeezed
together? See why I don't make any extra money as a hand model? |
 |
 |
 |
 |
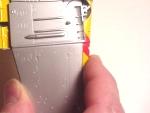
| Center the floor assembly in every direction. Those pesky spares will hold it in place quite nicely. |
 |
 |
 |
 |
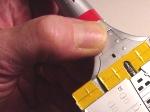
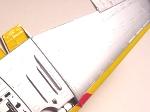
| Now place the wing and floor assembly into the fuselage. Start at the rear and rotate forward. |
 |
 |
 |
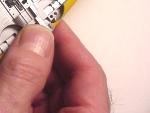 |
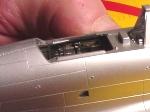
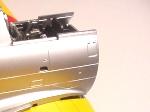
| Be certain that the rear of the lower wing is resting on the locators in the fuselage. Not under them. |
 |
 |
 |
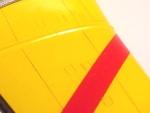 |
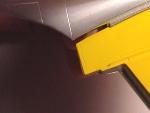
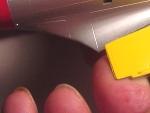
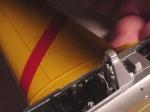
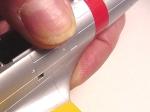
| Now the wing tops. Obviously the fuselage tabs have to live under the upperwings. |
 |
 |
 |
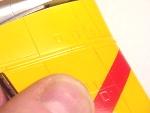 |
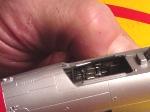
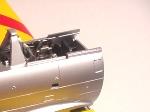
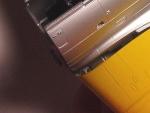
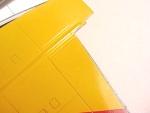
| Very carefully bend the wing panel downward until it clears the tab. The wing will now pop into the correct position. |
 |
 |
 |
 |
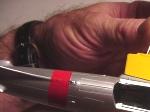
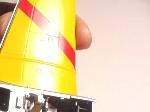
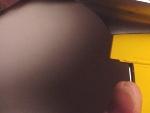
| Repeat for the opposite wing. |
 |
 |
 |
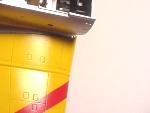 |
| When you are completely satisfied with the wing/fuselage location, you may glue it in place. The interior will self-locate. |
SBD-1 Online-Build Copyright © 1999-2005 Accurate Miniatures
Previous |
Introduction |
Step One |
Step Two |
Step Three |
Step Four |
Step Five |
Step Six/Seven |
Step Eight |
Step Nine |
Next
|

Accurate Miniatures is a
registered trademark of
Collins-Habovick LLC
Copyright © 2003-2006,
All Rights Reserved
Telephone: 704-795-2345
Your Local Time is: Wed Aug 03 2011 19:43:17 GMT-0700 (Pacific Daylight Time)
|