Douglas SBD-1 Dauntless - Part 8
Engine Details
Previous |
Introduction |
Step One |
Step Two |
Step Three |
Step Four |
Step Five |
Step Six/Seven |
Step Eight |
Step Nine |
Next
With the wings in place, further assembly is now very
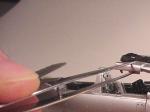
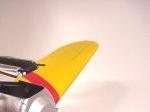
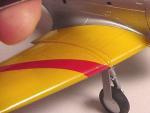
straight forward. As you may be able to detect in the photos, after finishing all of the
metalized surfaces, I have not used metalizer on the control surfaces. Since these
surfaces were fabric, they would have a slightly different finish. I have chosen to use
flat aluminum paint to represent this finish. While it may be a little more matte than the
actual full-sized example, on a model that, with the exception of the wings and color
flashes, has a rather monochromatic finish, this little touch adds a bit more interest.
Applying matte or semi-matte finishes to the aluminum paint will give you more flexibility
to the end result. The arrestor hook was steel and you may wish to finish it in this
color. It also adds some more contrast to the model.
 |
 |
 |
 |
| I also pre-painted the sub-assemblies in Step 7. I still think
it’s a lot easier to paint pieces like this away from the places that they will
eventually live. The guns were painted black and given a light rub with silver Rub ‘n
Buff to highlight the edges. Silver pencil will also work here. |
 |
 |
 |
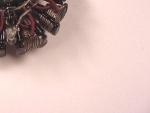 |
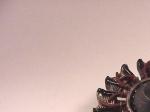
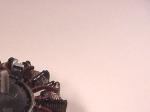
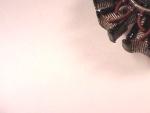
| Finished engine with weathering using washes and the silver pencil. |
The engine is a nice painting exercise. I like to spray the
cylinders in aluminum metalizer and then apply dark washes to the fins. The crankcase,
pushrods and ignition wires only require careful painting to bring out the detail. There
appeared to be different colored ignition wires on the real planes. One of the colors that
seems to pop up is a sort of dark red/brown. This red/brown adds a nice touch of color to
the front of the engine. Once again, that silver colored pencil comes in handy to color
the ignition wire clamps. You will probably also notice just how much easier it is to
control than a paint brush for small details like this.
With the nose in place, we’ll now flip the plane
over and do the underside details. As it says in Step 8, the landing gear
will "self-align". All I did here was follow the instructions.
I might be a little more willing to install the bomb release window before
putting the landing gear together, simply because it’s easier to get
to before the gear is in place.
Step 9 continues the assembly procedure as described. Since these airplanes flew in the depth of the
depression, there wasn’t a lot of money for training. To see one of these planes in
the air with a live 1000 pounder would be a rare sight. I therefore have not hung the big
bomb on the trapeze. The two wing bomb racks will also benefit from being finished in
steel. While there were aluminum components on these racks, the basic construction was
steel. I am going to paint the 100 pound bombs in "practice" colors and install
them at the end of construction.
SBD-1 Online-Build Copyright © 1999-2005 Accurate Miniatures
Previous |
Introduction |
Step One |
Step Two |
Step Three |
Step Four |
Step Five |
Step Six/Seven |
Step Eight |
Step Nine |
Next
|

Accurate Miniatures is a
registered trademark of
Collins-Habovick LLC
Copyright © 2003-2006,
All Rights Reserved
Telephone: 704-795-2345
Your Local Time is: Wed Aug 03 2011 19:43:24 GMT-0700 (Pacific Daylight Time)
|