Douglas SBD-1 Dauntless - Part 9
Final Details, Decaling & Some Individual Touches
Previous |
Introduction |
Step One |
Step Two |
Step Three |
Step Four |
Step Five |
Step Six/Seven |
Step Eight |
Step Nine |
Next
This is kind of the clean-up operation on
our little yellow plane. While we have been repeatedly saying FOLLOW THE INSTRUCTIONS, I
think that most of us will find that following them is probably the way we’d do it
anyway. About the only variation that I have made in this final detail section is to glue
the painted cowl in place after I have applied some light wash around the intermediate
cowl ring and to various small details. Many of those little details cry out for a bit
more emphasis. As you can once again see from the photo, I have decaled the plane
completely before adding all of the fragile stuff. I think most of us automatically do
that. All of this minor deviation from the basic instruction sheet further points out the
importance of what we say at the beginning of all of our instructions: READ THEM! By
becoming familiar with the recommended assembly, we are better able to determine where we
might want to vary the sequence. We know that our kits are sometimes a "little
different." Our instruction sheets are trying to keep you from getting into trouble.
It is part of the company’s goal to deliver a kit that not only offers assembly, but
also treats the modeler as someone who is going to contribute more than paint and glue to
the end result. After all, these aren’t toys. They are works of art that you create
through your talents and building experience.
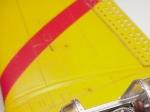
Anyway, on to the clean up. I have added the dive flaps, even though my better judgment
tells me to leave them off until the very end. I only say this because I
seem to have the uncanny ability to knock off pieces faster than I put them
on. These are very vulnerable to my eight thumbs and yes, I did knock one
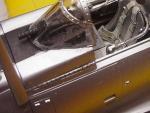
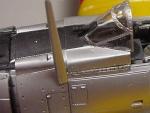
piece off. Twice. One critical part is the map table that goes in the pilot’s
cockpit - the part we warned you about in Step 2, "Don’t put it
in yet." Well, now is the time. A light wash on the hoisting
cable will look nice. And for my two female fans (yes, we are blessed!)
who sent me an E-mail and requested an open interior, I have cut the pilot’s
section away from the closed canopy. "Look, look," said Jane.
"There is cockpit detail. Spot can now see the relief tube."
 |
 |
 |
 |
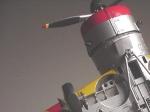
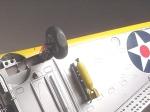
That lift cable is one of those little parts that
always seems to draw an eye and the question: "what is it?" Wow them with your
deep knowledge of the subject!
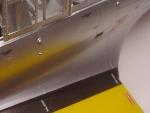
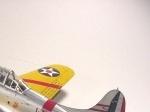
Even though these airplanes were pre-war and therefore
very well maintained, I have shown a slight amount of wear on the anti-glare panel. Very
slight. This is a Marine plane and that might have been grounds for a Court Martial in
those days! |
 |
 |
 |
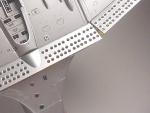 |
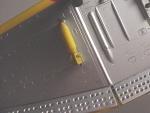
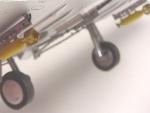
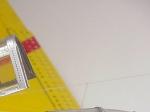
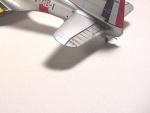
| The underside is full of detail that will really
benefit from a light wash. Carefully applied burnt umber oil paints will pop out the many
panels, etc. I'm not aware if the practice bombs carried standard fuses. Any experts out
there? Anyway, I left them in place cause they look neat. Artistic license. |
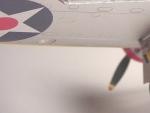
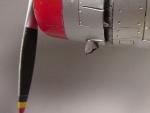
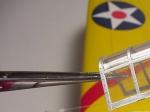
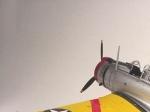
The prop requires a disproportional
amount of time to complete. Stripes. Black backside. Metalizer finish. Mask,
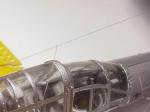
paint. Mask, paint. Mask, paint. Done. I have added a radio antenna using
my favorite technique - stretched sprue from the clear plastic tree. When
it is installed and left unpainted, it gives the illusion of sort of being
there and not being there depending on how the light hits it. Works for
me. And it is easy to install. Check out the photos. You might also notice
some of the light washes that have been applied here and there. I try to
keep them subtle. If you can see them, I’ve probably overdone
them!
 |
 |
 |
 |
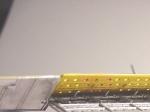
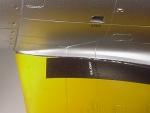
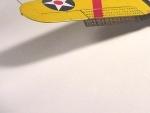
| The dive flaps have had their interior surfaces painted
in the pre-war colors as described earlier. They may not be as dramatic as the red red
interiors that most of us would normally select, but it does make for another opportunity
to show your vast knowledge of these planes. |
 |
 |
 |
 |
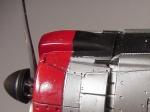
| Remember, that spinner had a rubber surface! No matter how many
beautifully painted profiles and paintings you see of these planes, try getting paint to
stick to a rubber spinner turning 300 RPM. Go with black paint here. And that silver
pencil makes short work of the band towards the rear of the spinner. Once again, the
washes help bring out the detail in the cowl area. Don't forget to paint the back of the
prop. Some planes in the pre-war time frame used insignia blue in place of the matte
black. |
 |
 |
 |
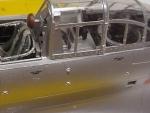 |
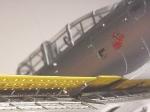
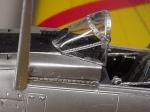
| Using the one piece canopy, I have carefully cut the pilots portion
away and installed it in the open position. I find this to be easier than stacking the
individual pieces. It seems that most photos of these early planes show them with the rear
canopies closed and I like the lines of the plane with them closed. |
So, that’s it. I have tried to give
you a build with a few tips and a bit of company "philosophy"
thrown in for good measure. I actually enjoyed doing one more SBD in spite
of the fact that after building 50-60 of them, the subject had gotten a
little old. If this sort of "build it on line" thing helps explain
some "unusual" assembly to folks who might be having a few questions
or would just like to see how it looks, then it has succeeded. Don’t
hesitate to let us know what you think. The F3F’s and the B-25's are
in the wings waiting to go through the same exercise.
 |
 |
 |
 |
 |
 |
 |
 |
| The finished plane. Ready for display. |
SBD-1 Online-Build Copyright © 1999-2005 Accurate Miniatures
Previous |
Introduction |
Step One |
Step Two |
Step Three |
Step Four |
Step Five |
Step Six/Seven |
Step Eight |
Step Nine |
Next
|

Accurate Miniatures is a
registered trademark of
Collins-Habovick LLC
Copyright © 2003-2006,
All Rights Reserved
Telephone: 704-795-2345
Your Local Time is: Wed Aug 03 2011 19:43:31 GMT-0700 (Pacific Daylight Time)
|